


Save a certificate on Microsoft IIS8.X/10.X and Windows Serveur 2012/2016
Recommended method
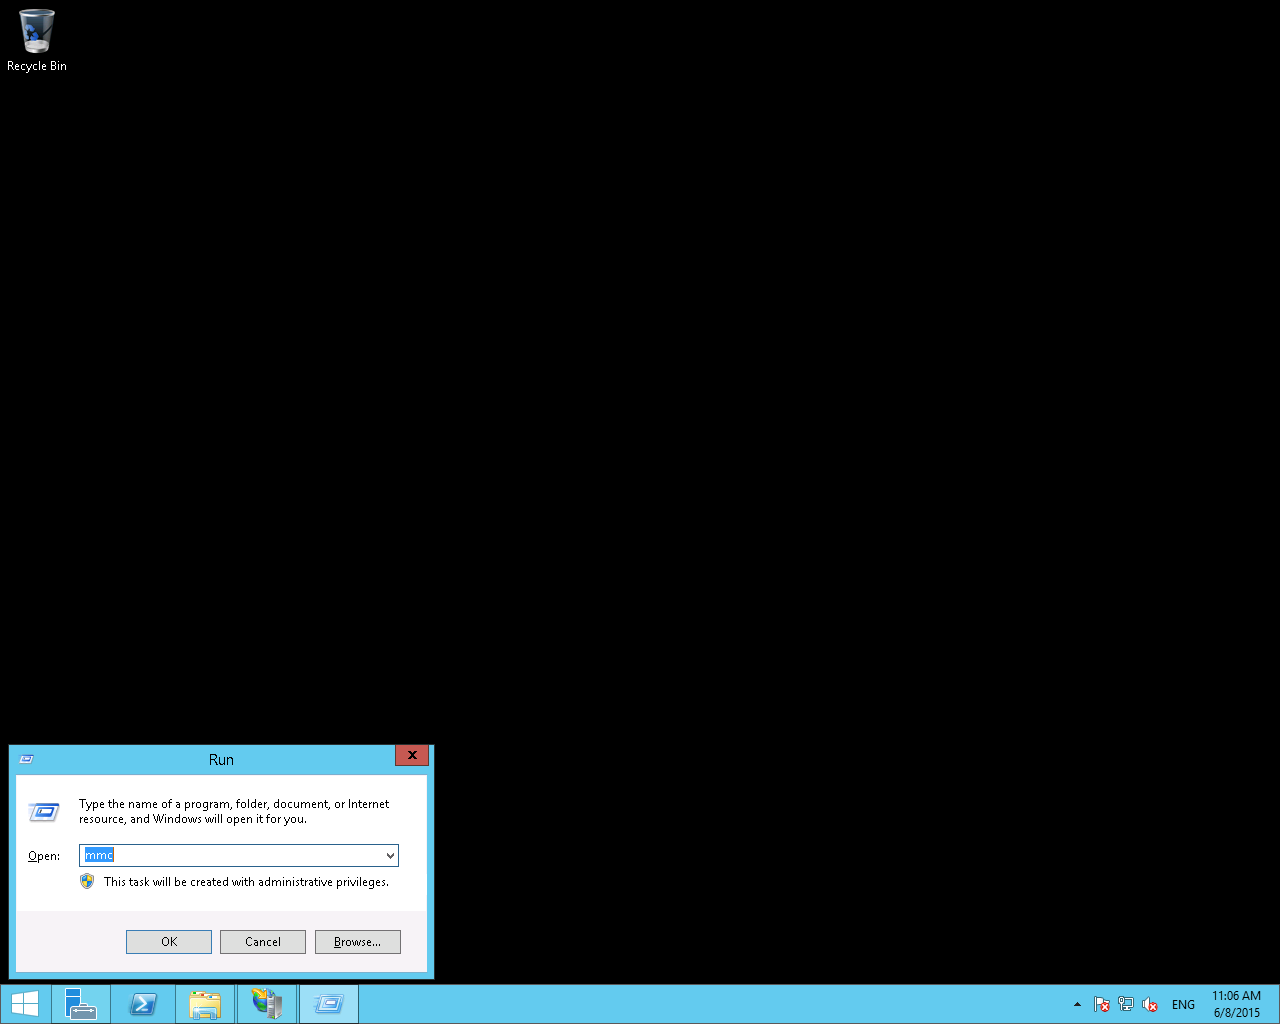
- Open the Windows launch tool with Run or from the run menu with the keyboard shortcut Win+r. Then, type mmc and click on OK.

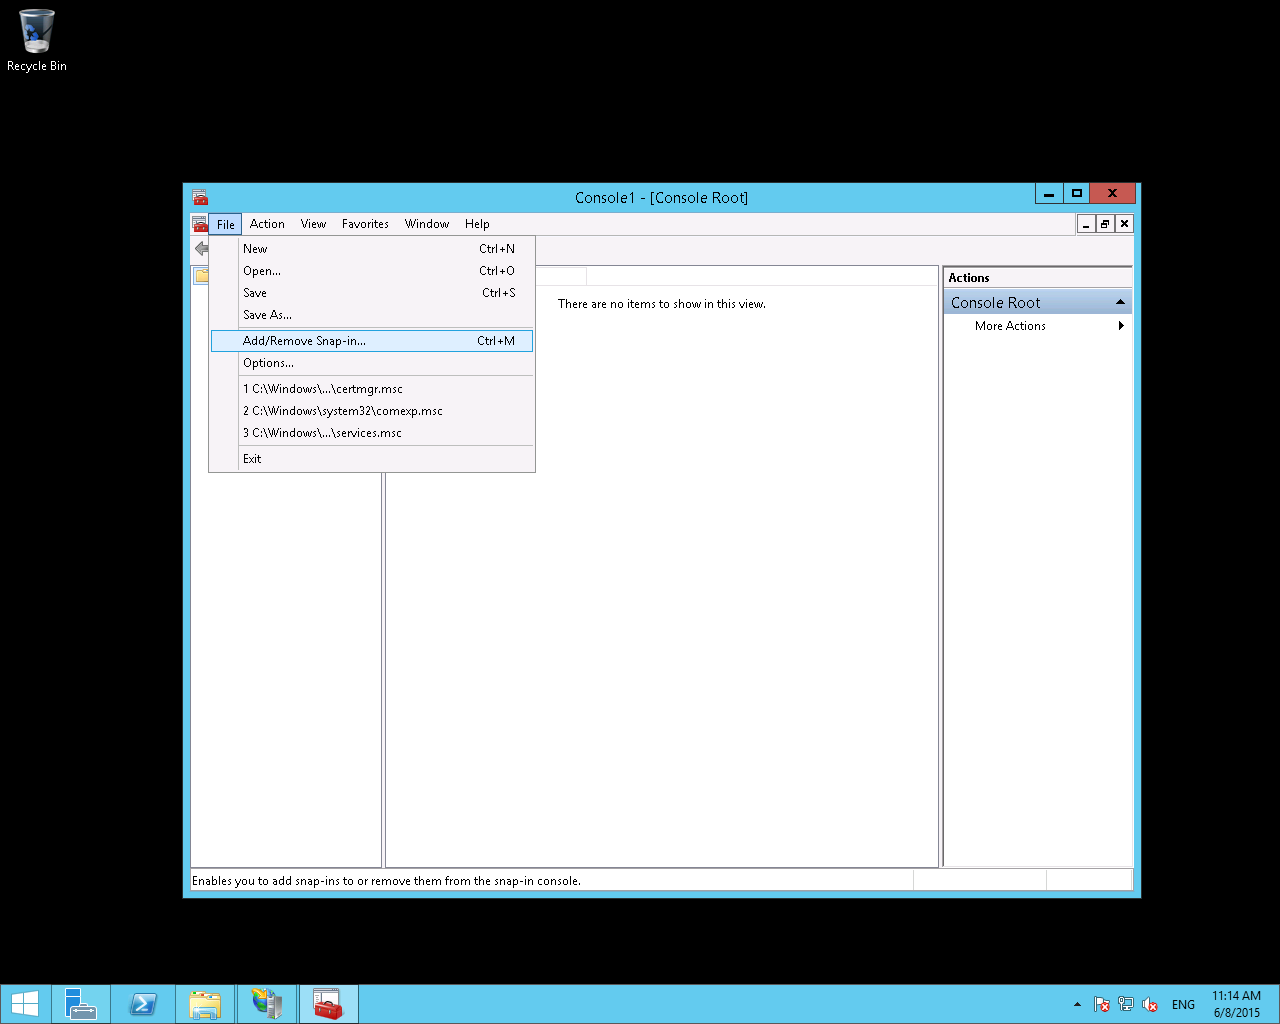
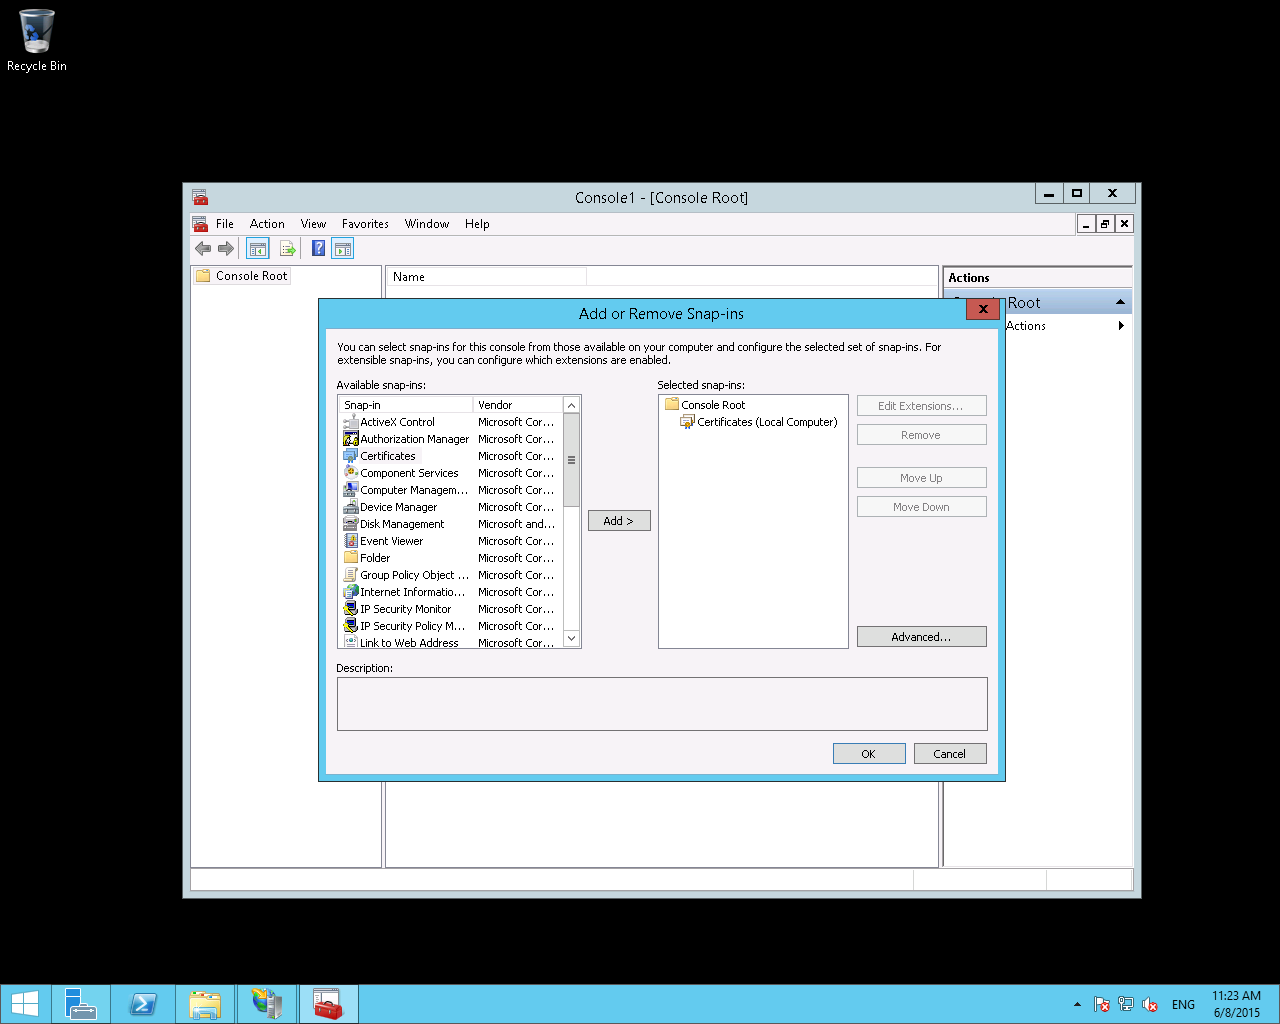
- Click on the File menu then on Add/Remove Snap-in.

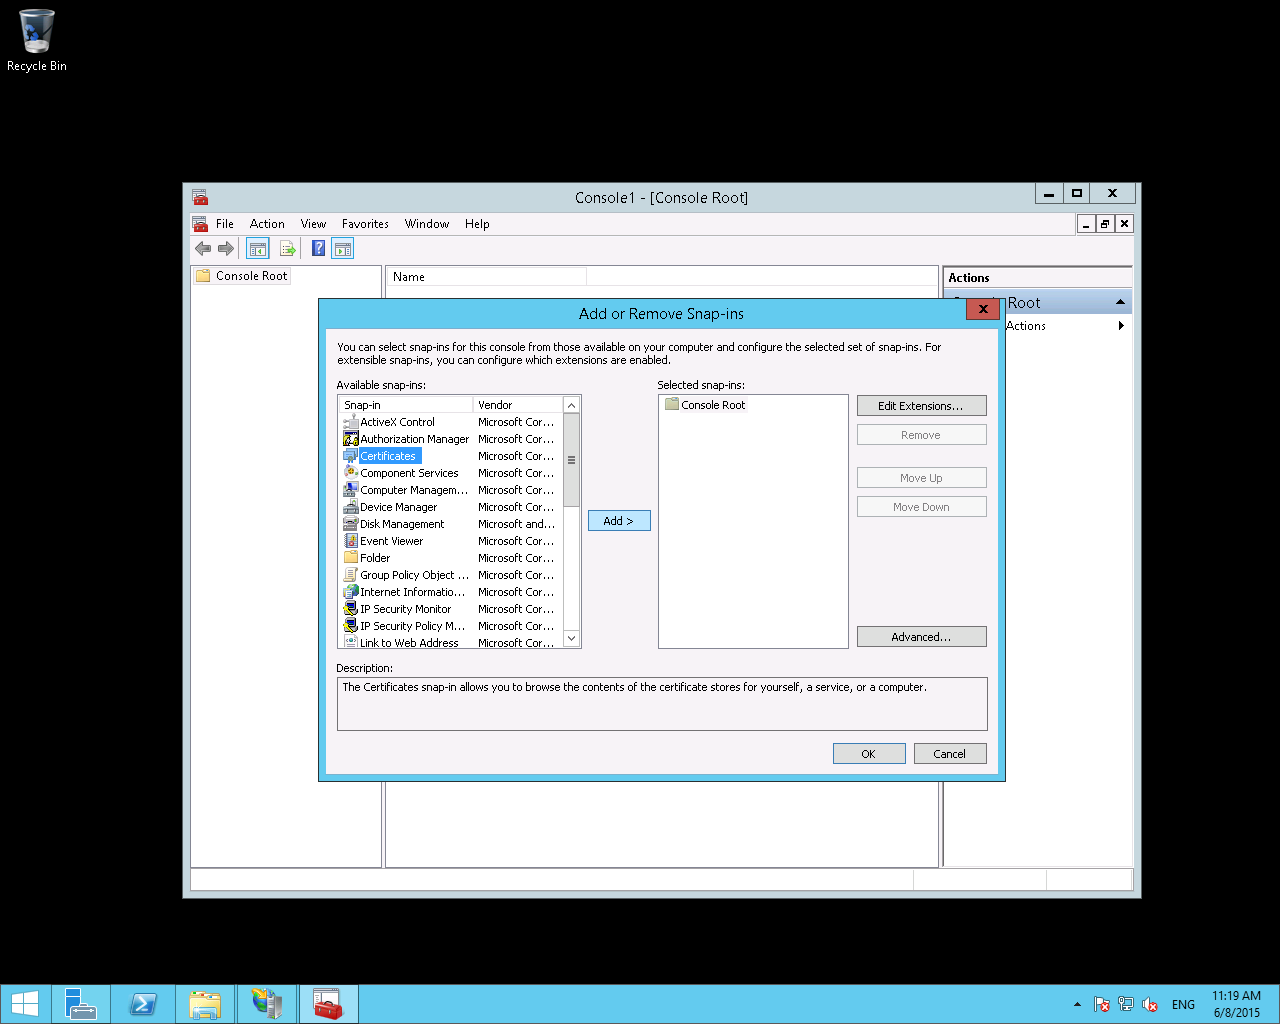
- Click on Certificates then on Add.

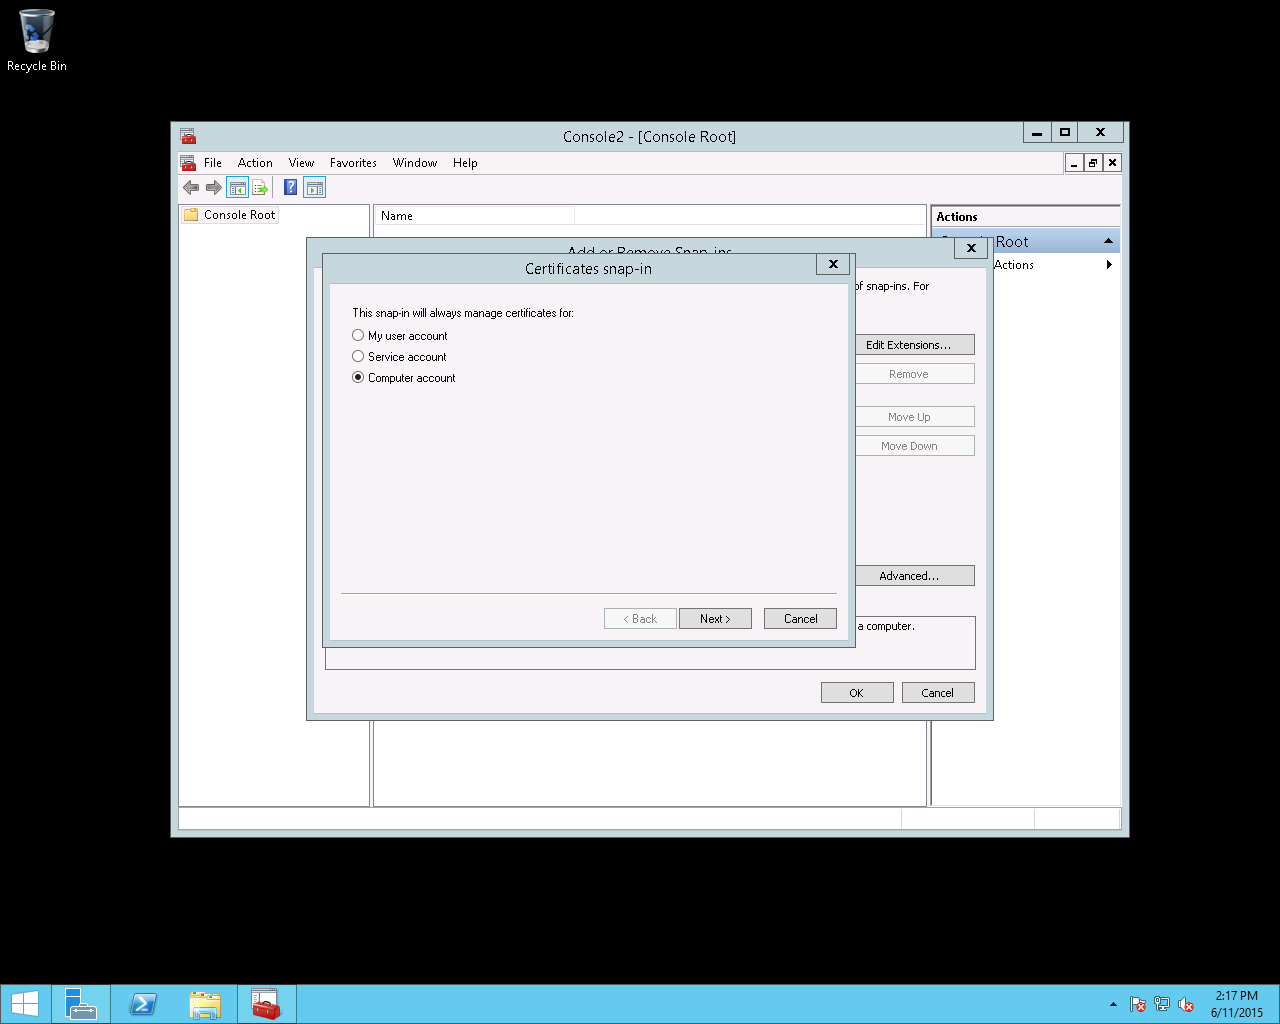
- Select your currentaccount type (Windows) then type in the requested informations based on your account type.

- Accept by clicking on OK.

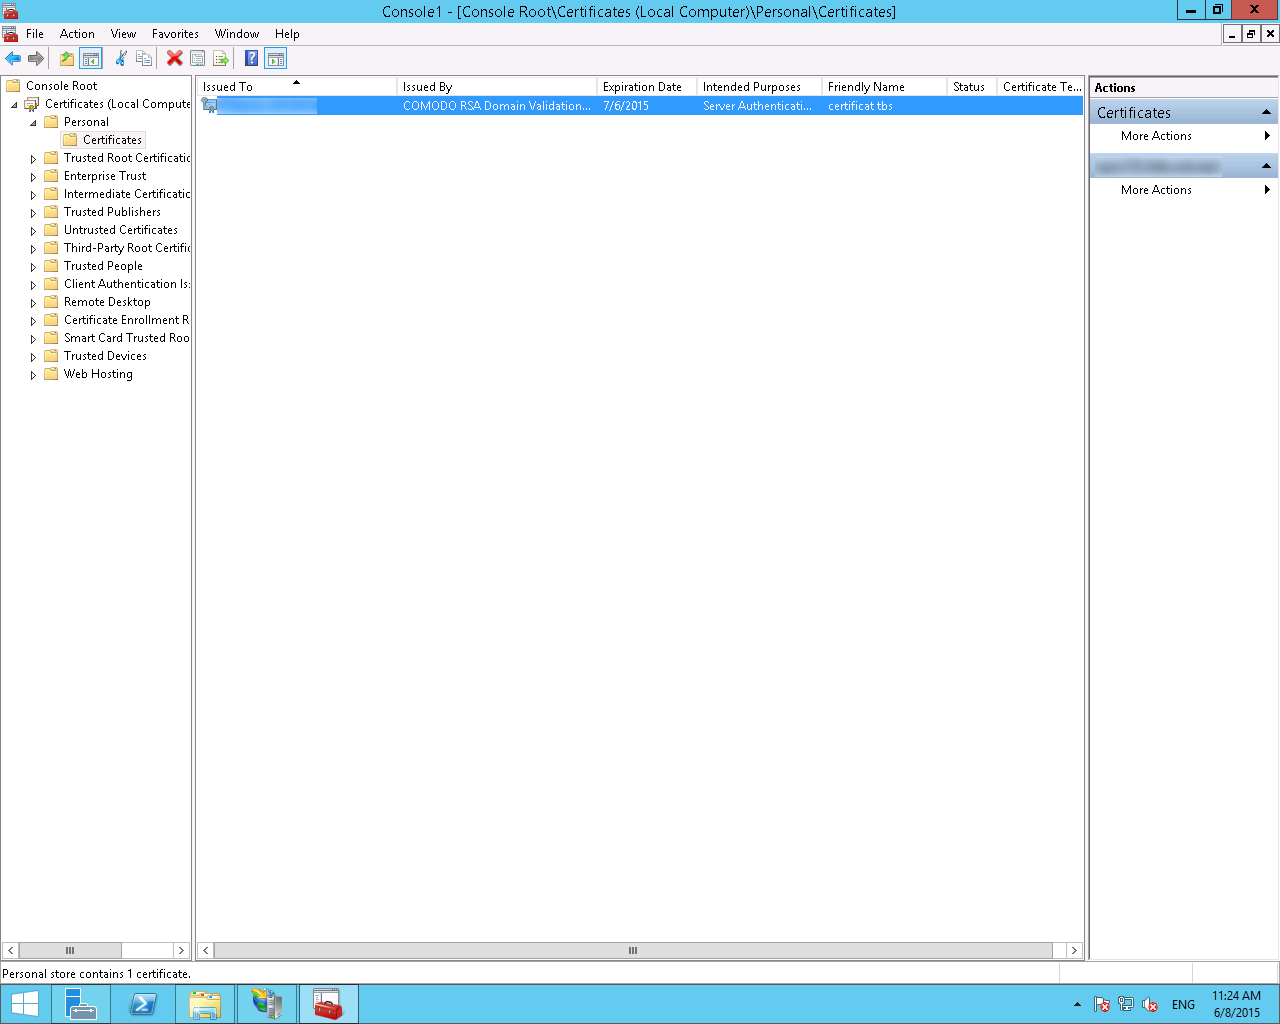
- You can now unwind the Certificatesmenu to view the store containing your certificate ( Personnal by default) and its sub-folder Certificates. You should be able to see your certificate.

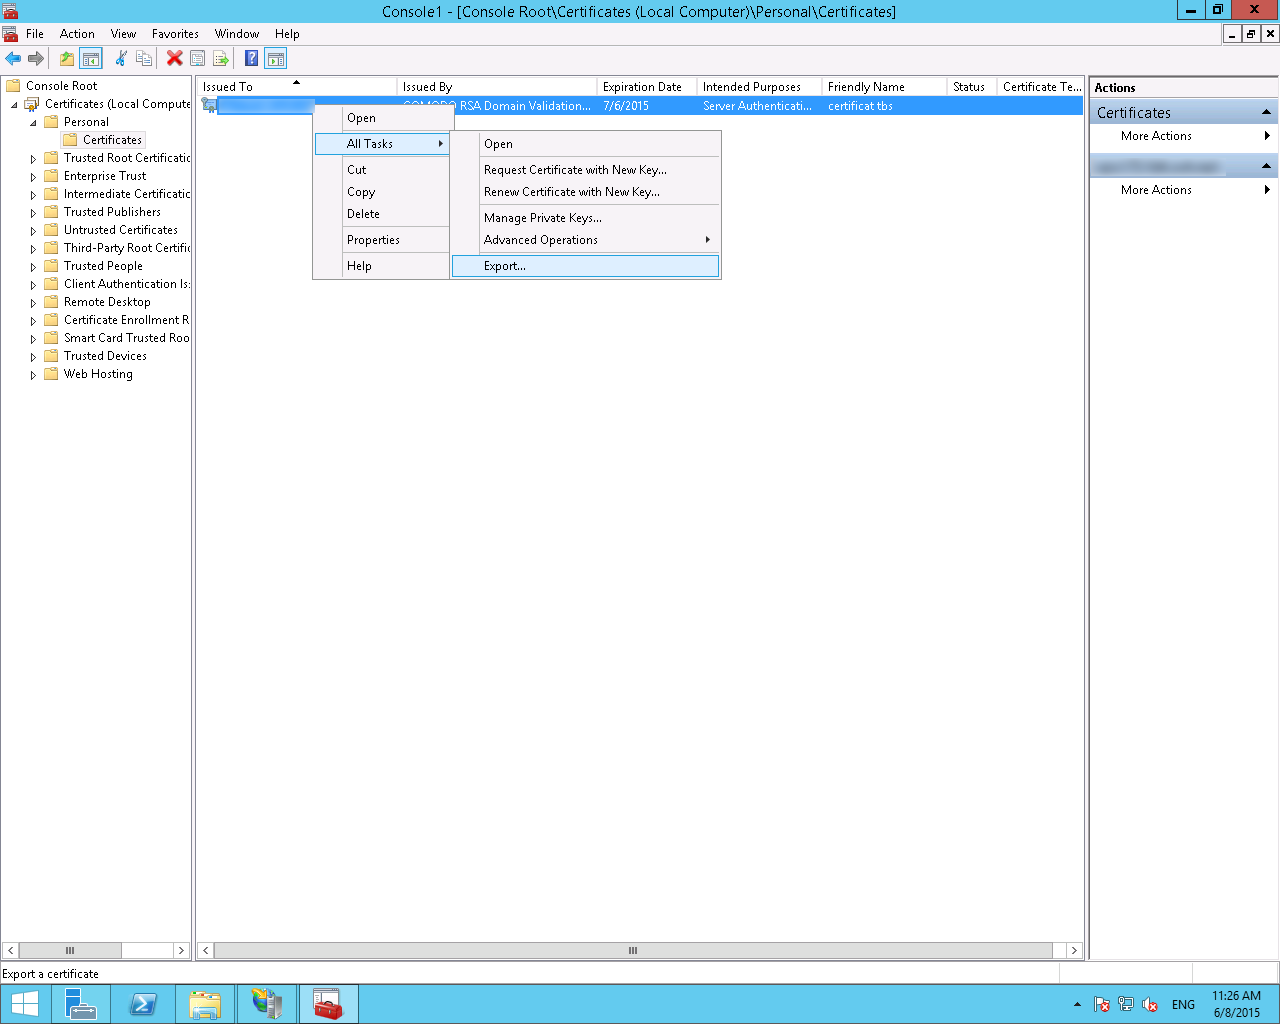
- Right click on your certificate and select the menu All Tasks - Export.
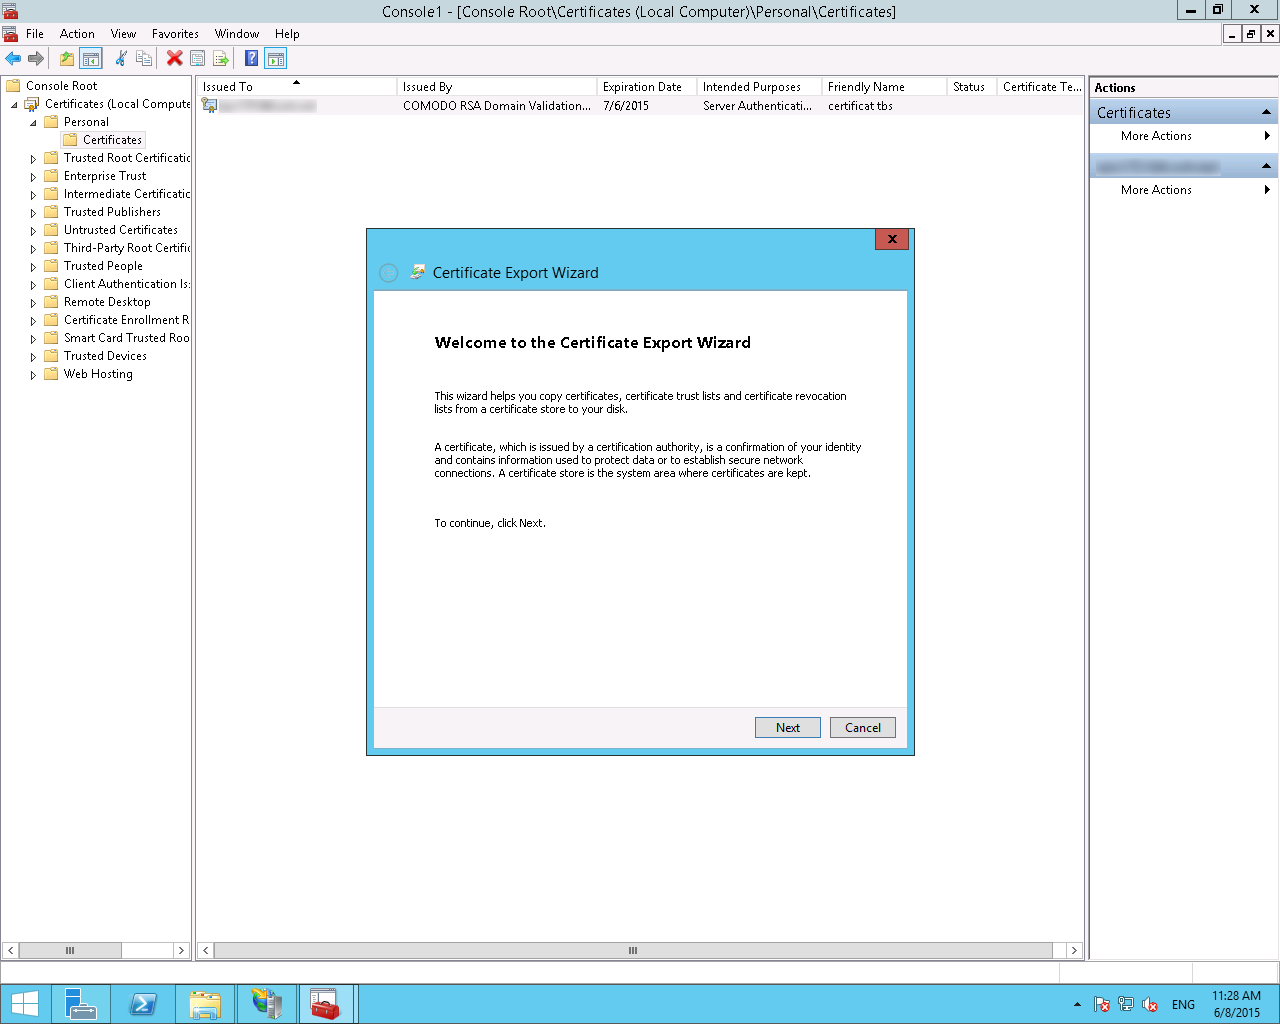
 Click Next
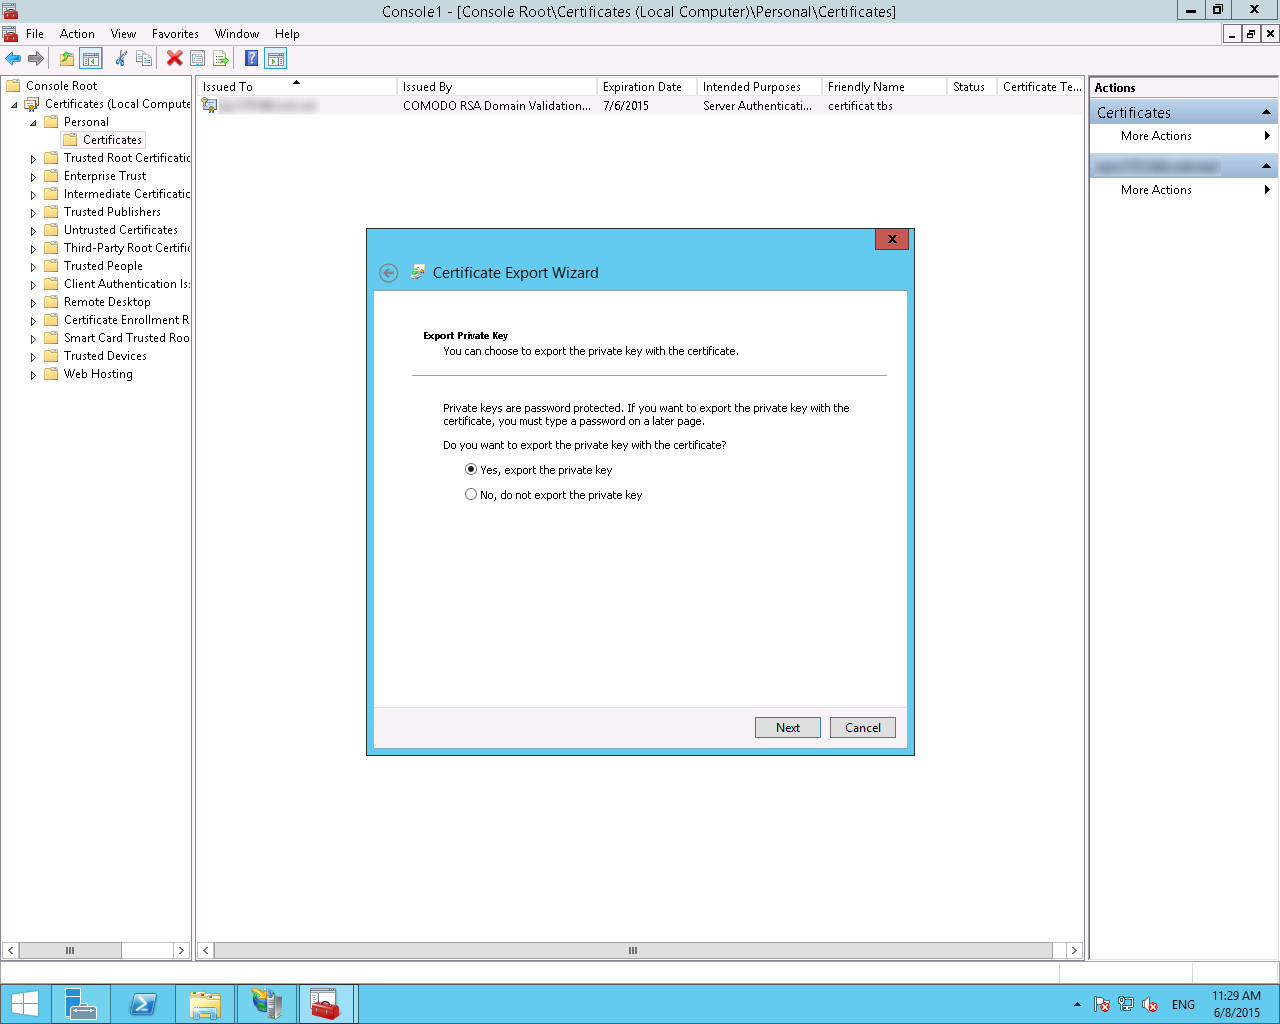
- Select Yes, export the private key then click Next.

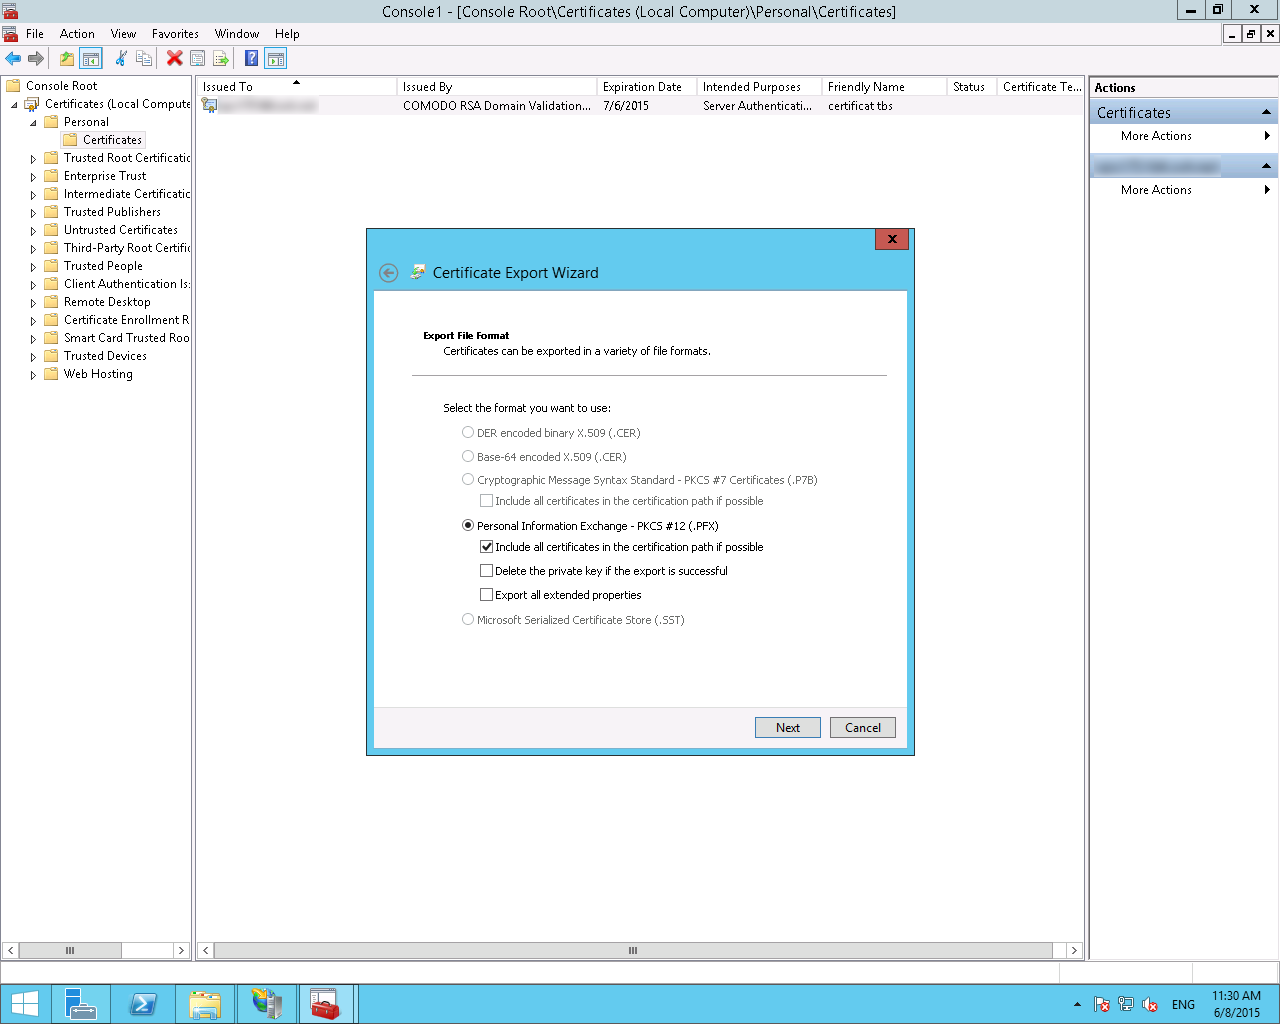
- Make sure the box Include all certificates in the
certification path if possible is checked. Then, click Next

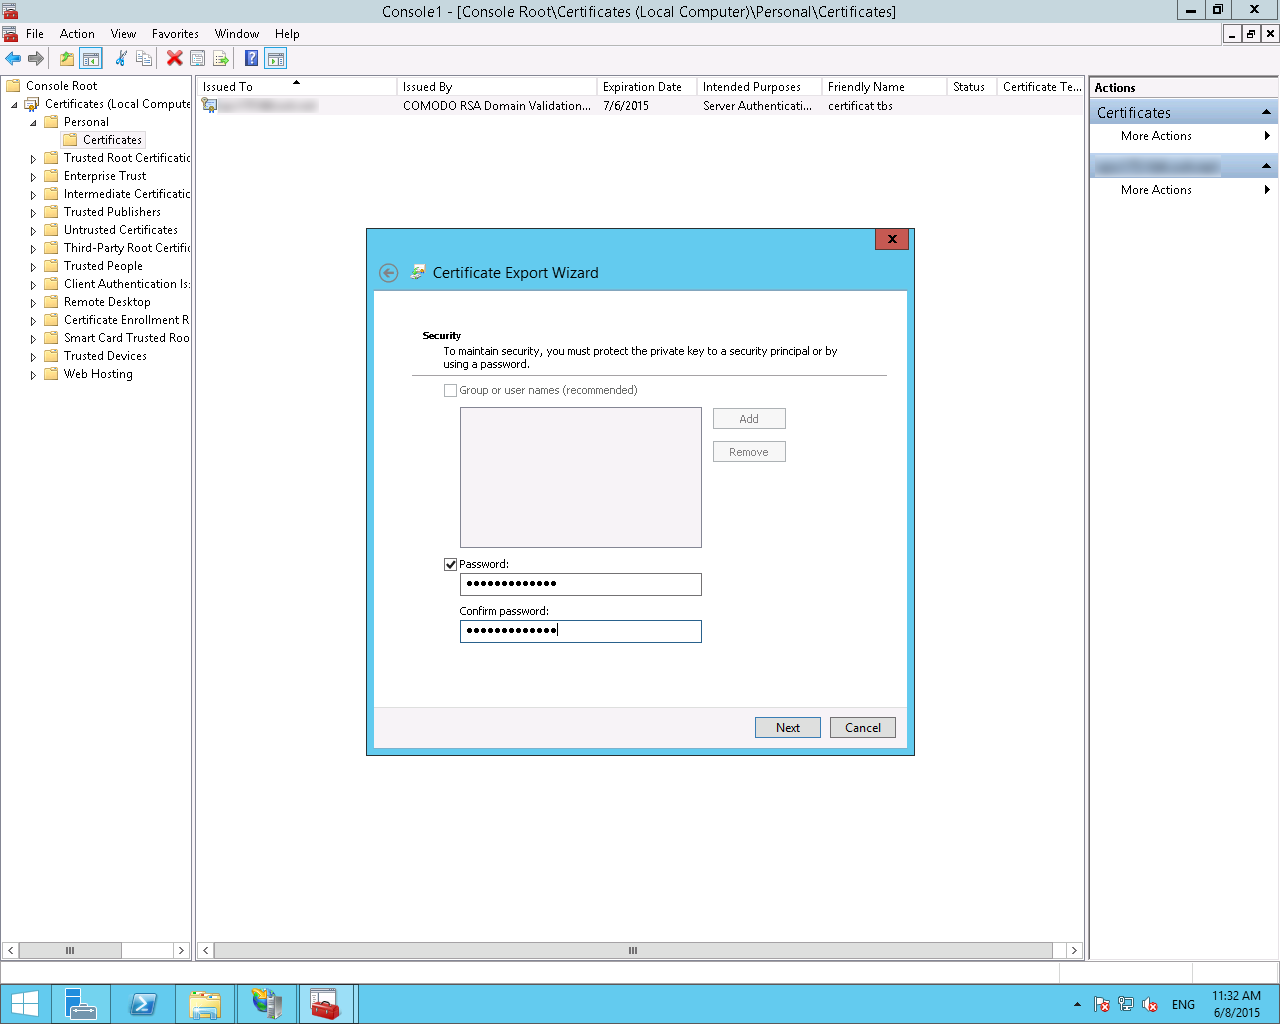
- Check the box Password, then type in the certificate's password.Next.

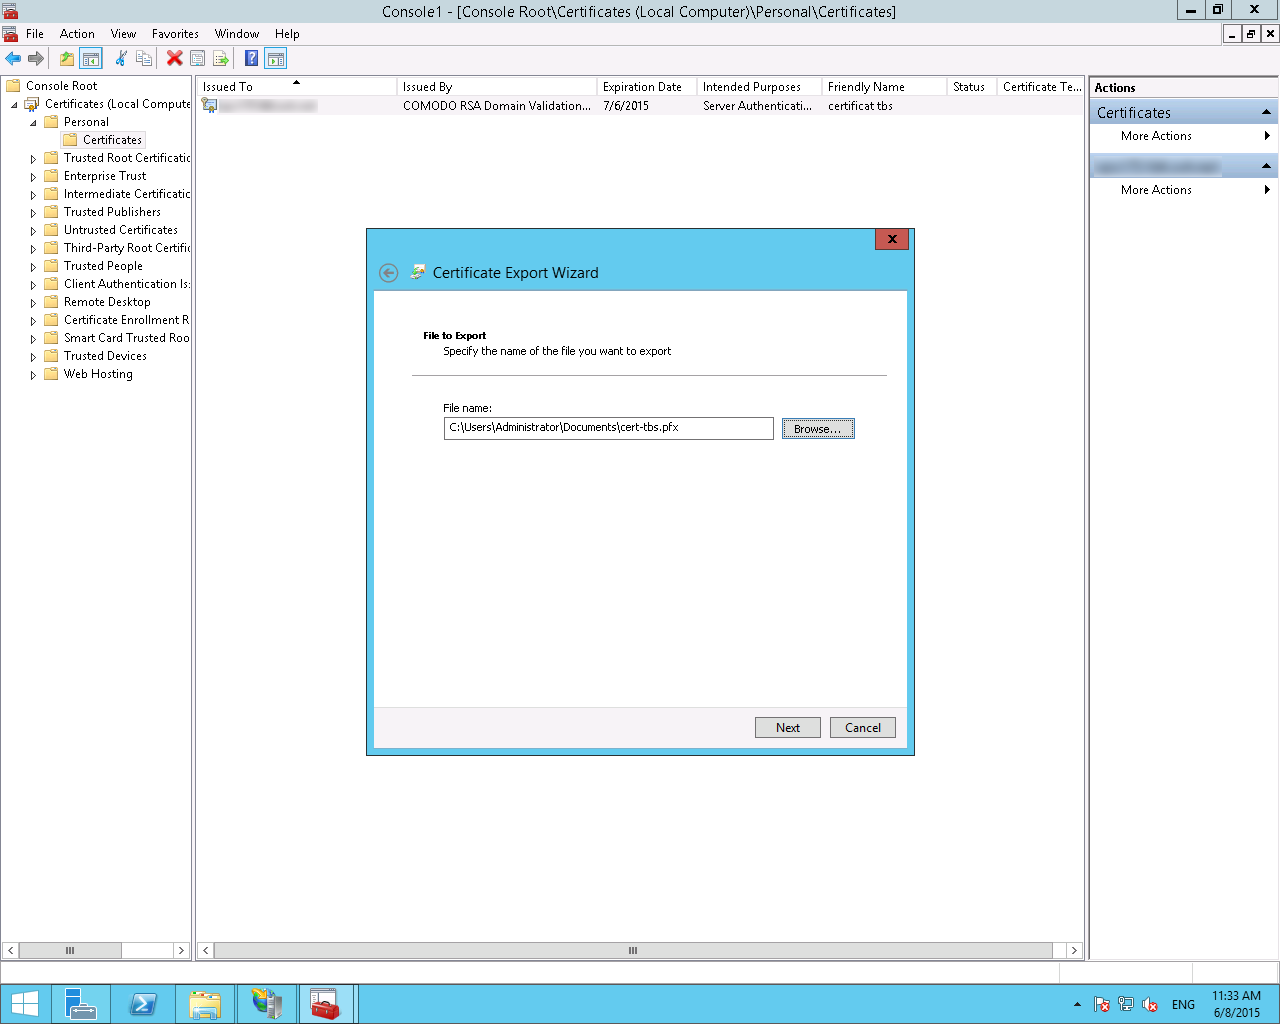
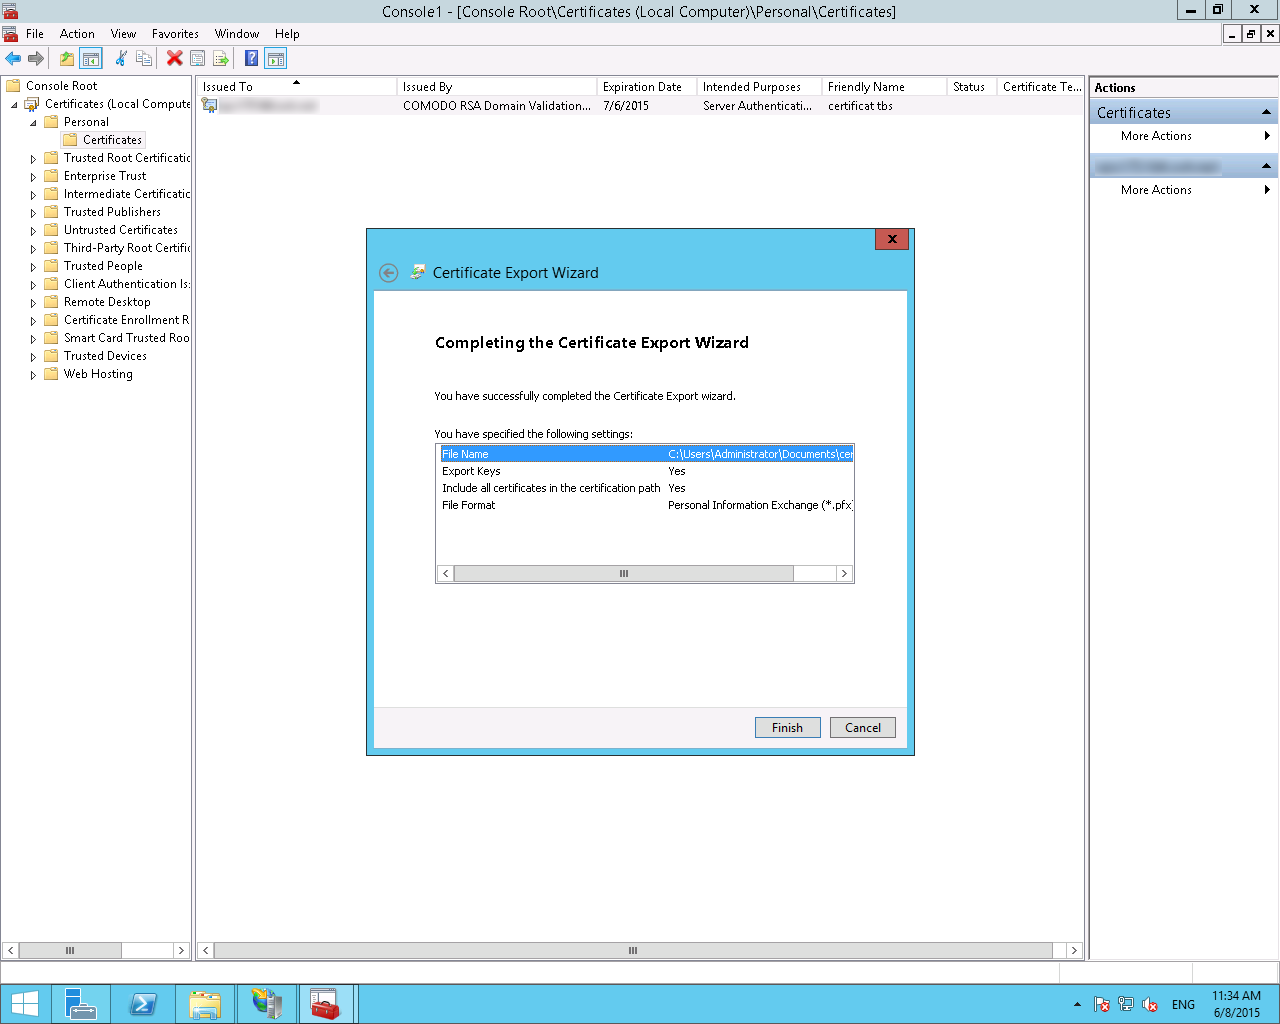
- Choose a directory and a certificate name, then click Next.

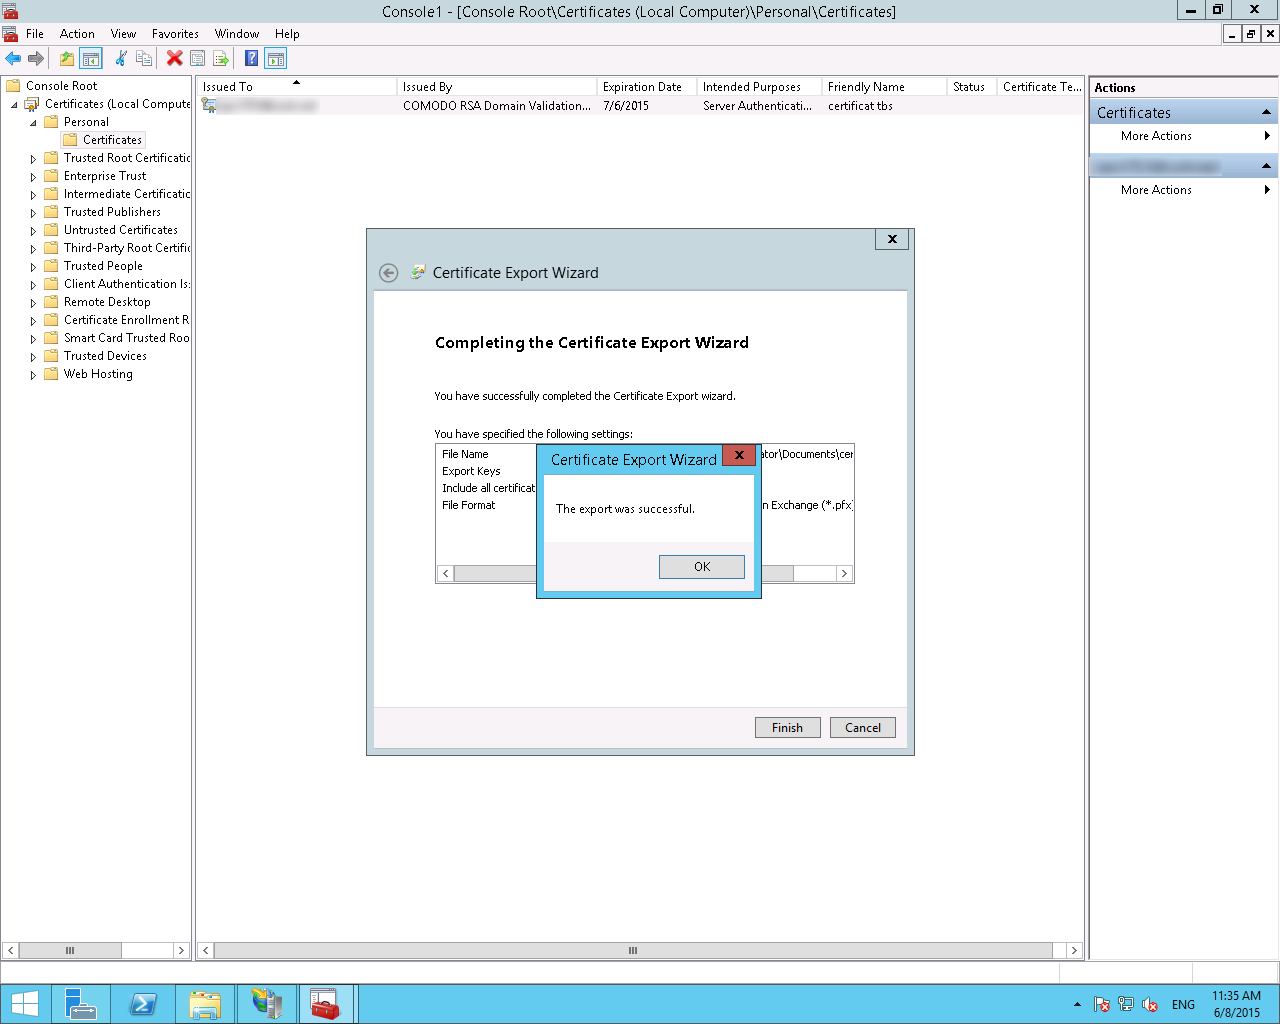
- Click Finish to confirm your certificate export


Basic method
Attention: we cannot guarantee that this method will correctly export certificate chains.
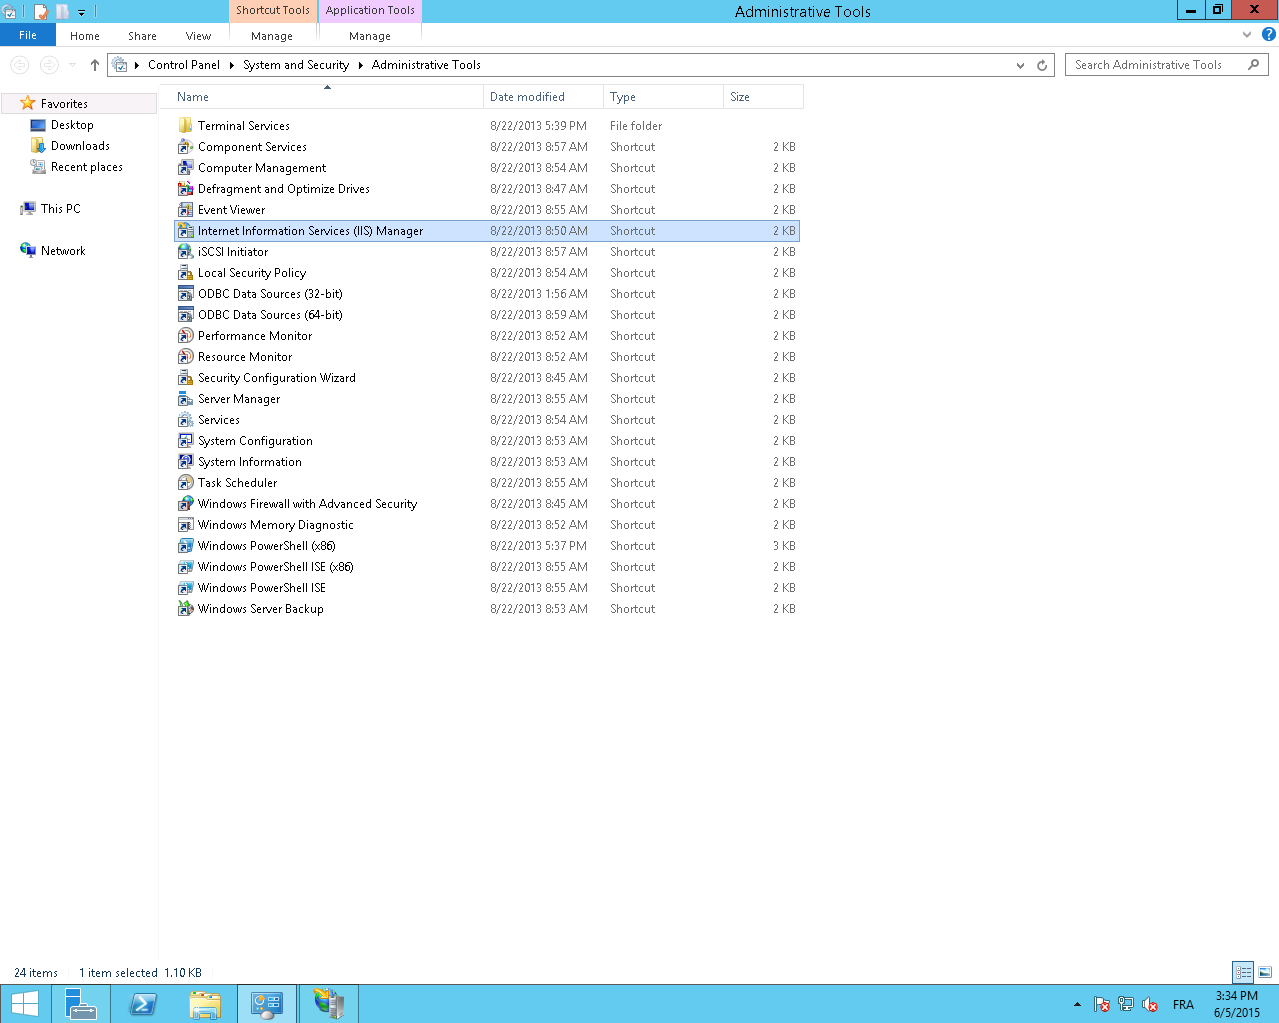
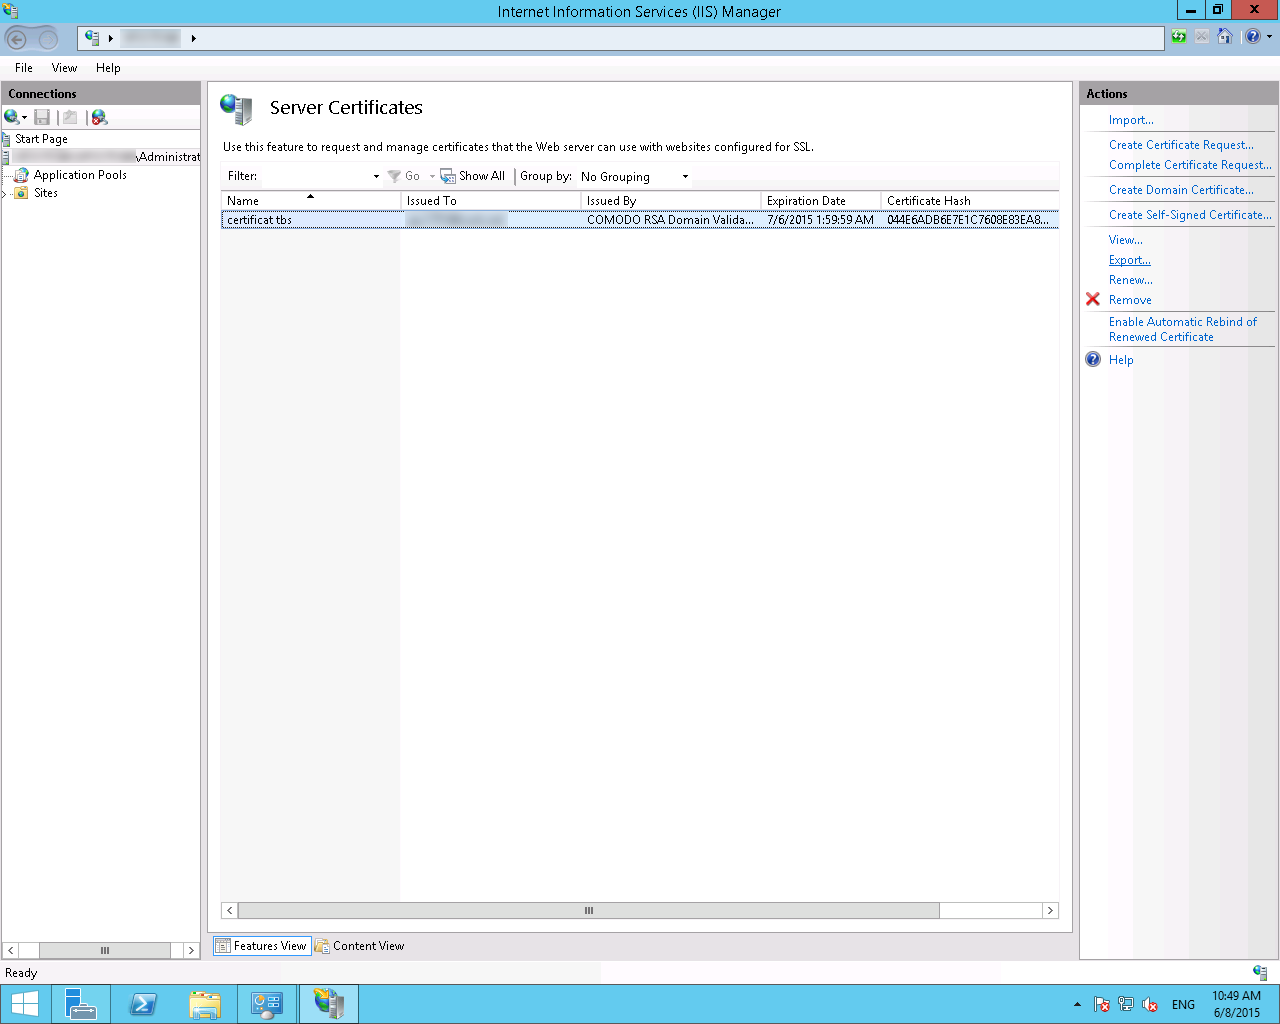
- Open the Internet Information Services (IIS) Manager from the Administrative tools
- Select your site from the Server Certificates option.
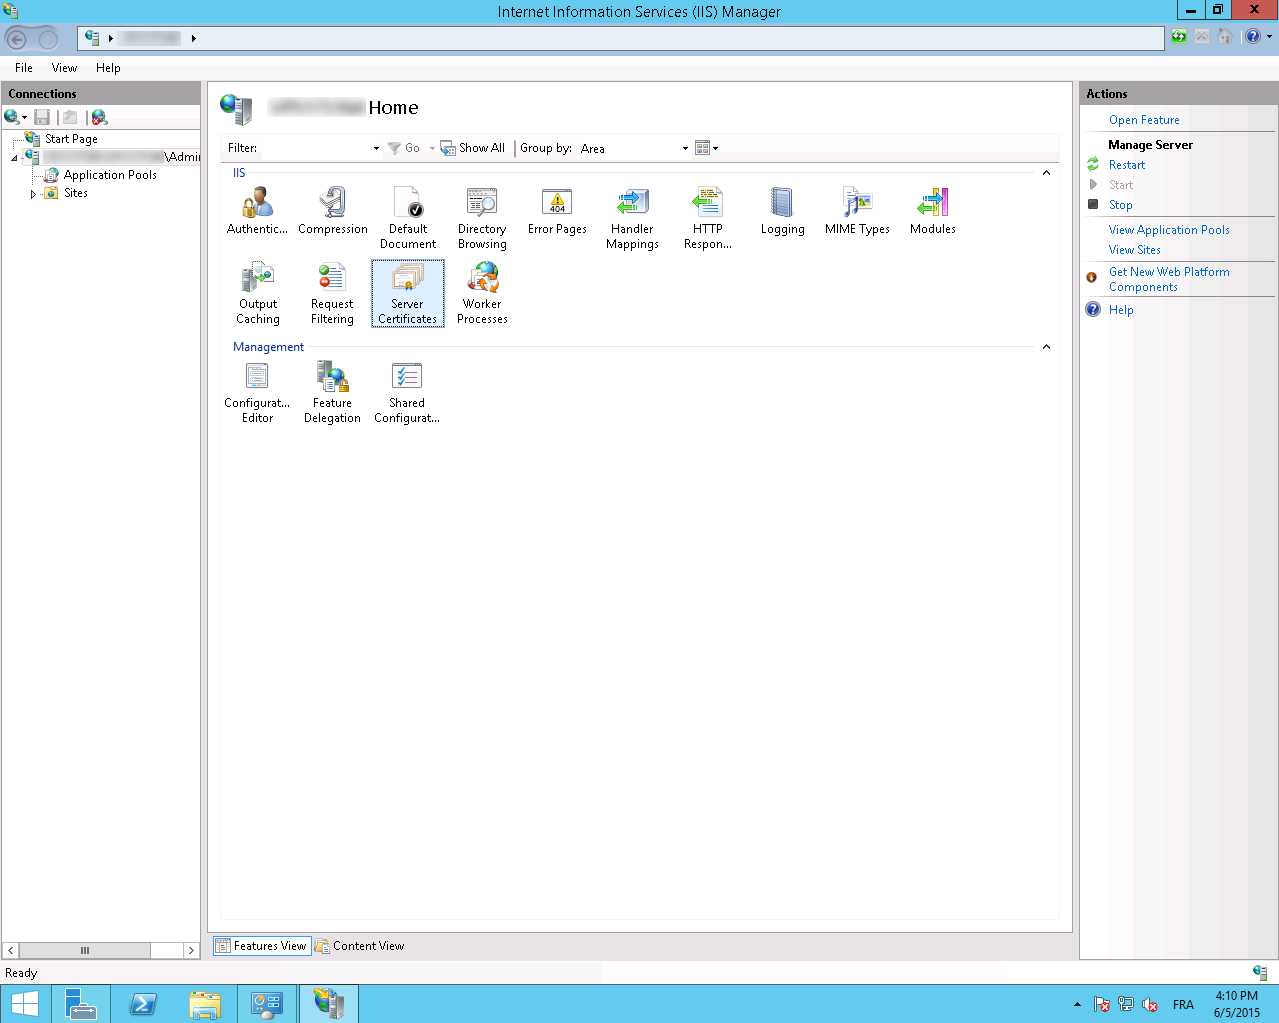
- Then select your certificate and click on Export from the Actions menu on the right hand side of the window.

- Right click on your certificate then click on View.

- Click on the Details tab and then on Copy to File
 Click on Next
 - Select Yes, export the private key then click on Next.
- Make sure the Include all certificates in the
certification path if possible is checked then click on Next
- Check the Password box and enter the password protecting your certificate and click on Next.
- Select a file and a name for your certificate then click on Next.
- Then click on Finish to validate your certificate export.


See also:
Last edited on 05/31/2019 08:58:38 --- [search]