


Install a certificate on Plesk 12
Prepare the PEM importation
- The private key (if you CSR has not been created on your PLESK)
Retrieve your xxx.pkey (or xxx.key) private key file.
This private key file has been created along with the CSR. In case of an automatic reissuance / renewal the original file can be reused.
If this file has been created by our tool Keybot, it has been password-protected (the content of this file begins with "---BEGIN ENCRYPTED PRIVATE KEY---"). The file has to be decipher first using your browser here.
You can give an explicit name to this new file such as "2022-key-www.domain.com.key". - Your certificate
On your certificate status page (you'll find it in your delivery e-mails):
click the"See the certificate"
and download your certificate in x509 format using the link"cert-xxx-xxx.cer".
You can give a new name to this file and provide a new extension such as "2022-cert-www.domain.com.crt". - The certification chain
On your certificate status page (you'll find it in your delivery e-mails):
click the"See the certificate" button and the "See the certification chain" one
and download the file using the link"chain-xxx-xxx.txt".
You can give a new name to this file and provide a new extension such as "2022-chain-www.domain.com.crt". - The certificate and the certification chain (PEM format)
On your certificate status page (you'll find it in your delivery e-mails):
click the"See the certificate" button and the "See the certificate and the certification chain in X509 format"
and download the file using the link"pem-xxx-xxx.pem".
You can give this file a new name such as "2022-pem-www.domain.com.txt".
N.B.: In case of a full PEM format (including the private key) you'll only have to copy / paste your deciphered private key at the top of your PEM file via a text editor (see above).
(---Begin Private key---- ... ----End Private Key----).
Install your certificate
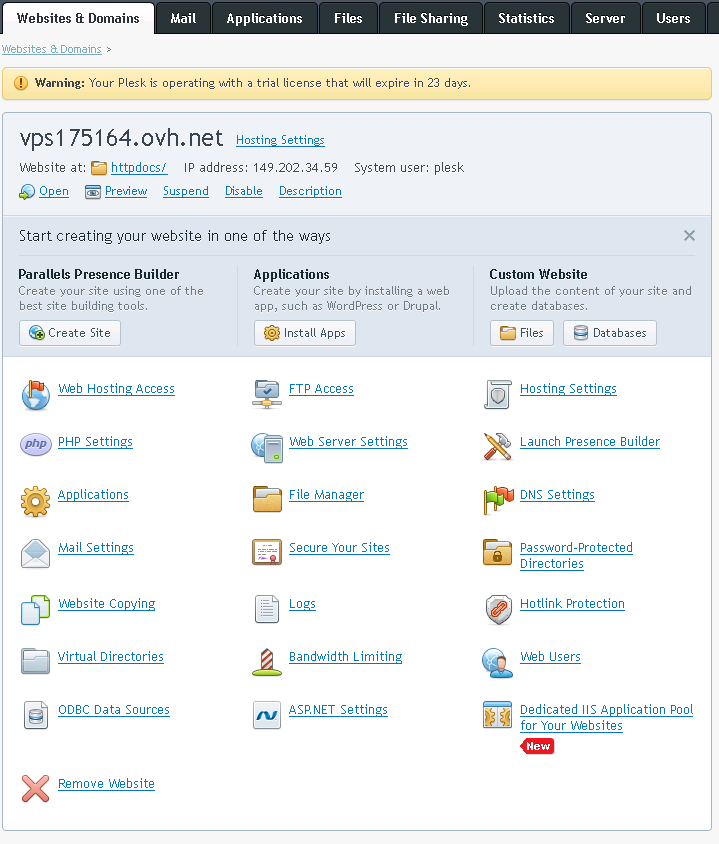
- Login to the Plesk Control Panel as an administrator. Then go to Websites & Domains tab and click on Secure \
Your Sites.
- You can consult here your certificates list. Click on your certificate name.

- Go to Upload the certificate
and Upload the Certificate as Textcategories. You can choose between 2 options that lead to the same result. Oncer your files are uploaded or the information provided, click on Send Files or on Send
Text according to your previous choice. Please note: If your certification chain contains your certificate it can generate errors. Check your file or text before submiting the information.
 You are goind to be redirected to your certificates list. You can see here columns C and A, respectively indicating the presence of a certificate and of a certification chain.

- Your certificate is now installed.


Bind your certificate to your site
- Go back to Website & Domains tab.
- Click on Hosting Settings.
- Then go to Securitysection an check SSL Support case. Then select your certificate in the dropdown list.

- Your certificate can now be used on your site.

Known issues
Error while adding your certificate to your site (or dureing the creation of a (sub)domain)
If you get the error:
Error: WebServerManager::addVhost() failed: websrvmng failed: A
  specified logon session does not exist. It may already have been
  terminated. (Exception from HRESULT: 0x80070520) In
  Microsoft.Web.Administration module Exception type:
  System.Runtime.InteropServices.COMException at
  Microsoft.Web.Administration.Interop.IAppHostMethodInstance.Execute() at
  Microsoft.Web.Administration.Binding.AddSslCertificate(Byte[]
  certificateHash, String certificateStoreName) at
  Microsoft.Web.Administration.BindingManager.BindingTransaction.Commit() at
  Microsoft.Web.Administration.BindingManager.Save() at
  Microsoft.Web.Administration.ServerManager.CommitChanges() at
  ServerManagerFactory.commit() at
  IIS7ServerManager.commit(IIS7ServerManager* )
Your certification chain probably contains your certificate. You'll then have to upload your certificate and your certification chain again and make sure your certification chain doesn't contain your certificate.
You can also encounter this error (less probable) if you use Plesk under windows anf if the IIS bindings have not been correctly updated and do not include your certificate. You can check that with our documentation Install a certificate under IIS.
Here is a link to Plesk knowledge center explaining this issue.
Mandatory SNI
Even if it is not really a problem, the obligation to have SNI-compatible client can cause issues if you need to maintain a compatibility with older platforms. To activate compatibility with these browsers you can either disable SNI in Plesk or add a recourse Binding in IIS manual configuration.
The CA certificate does not sign the certificate.
It is possible that when importing the certification chain a message says that the certificate isn't sign by the certificate chain. It is a bug impacting versions 11 and 12 of Plesk for Linux. This message can be ignored. More informations are available on Plesk's knowledge base.